


For the Greek version click below
QSprouted seeds are very nutritious but many breeders are afraid to use them due to the degree of danger they pose to birds if they are given spoiled. However, if we prepare them correctly and carefully, there is no risk involved.
I will attempt to explain the process that I use
Start by placing the seeds that you want to sprout in a colander with very small holes so that the small seeds do not escape but only the dirt and water. Instead of a colander, you can use a glass bottle with a sieve cap or a small net with small holes or a machine made for this purpose (with the machine, we follow the procedure recommended by the manufacturer).
Rinse well and place the colander with the seeds in a container and fill with water at room temperature or slightly lukewarm(in a too cold environment) until the seeds are well submerged.
After 1-2 hours, you will see that the water is stained by the colour of the seeds. Empty, rinse and refill with clean water.
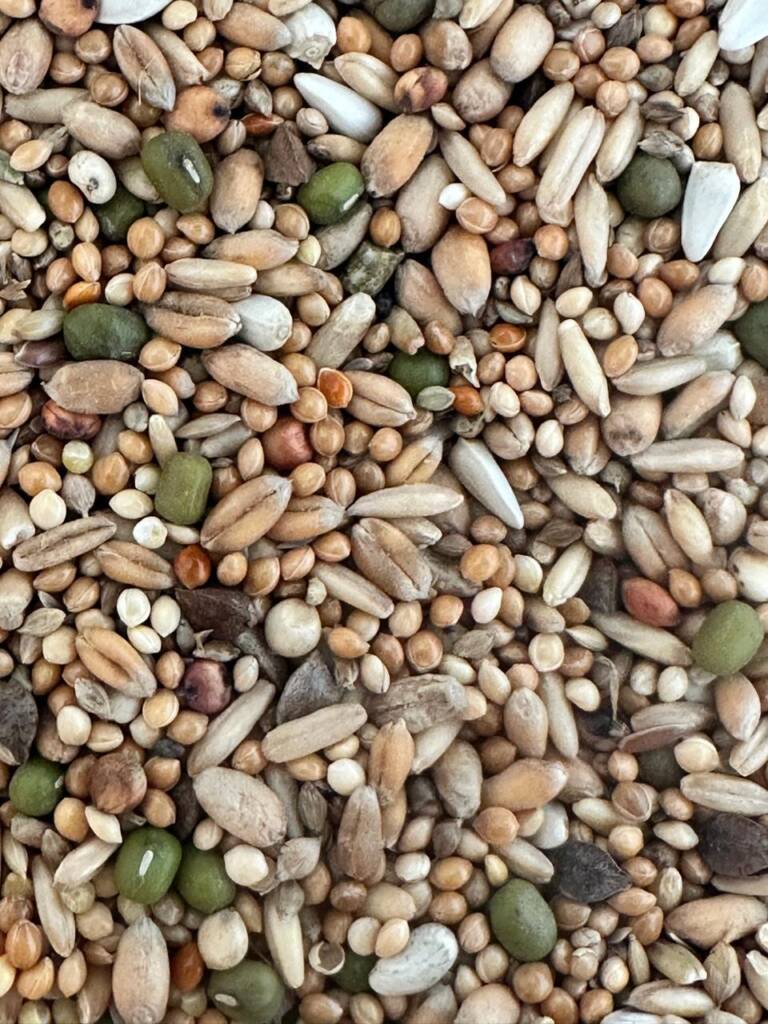
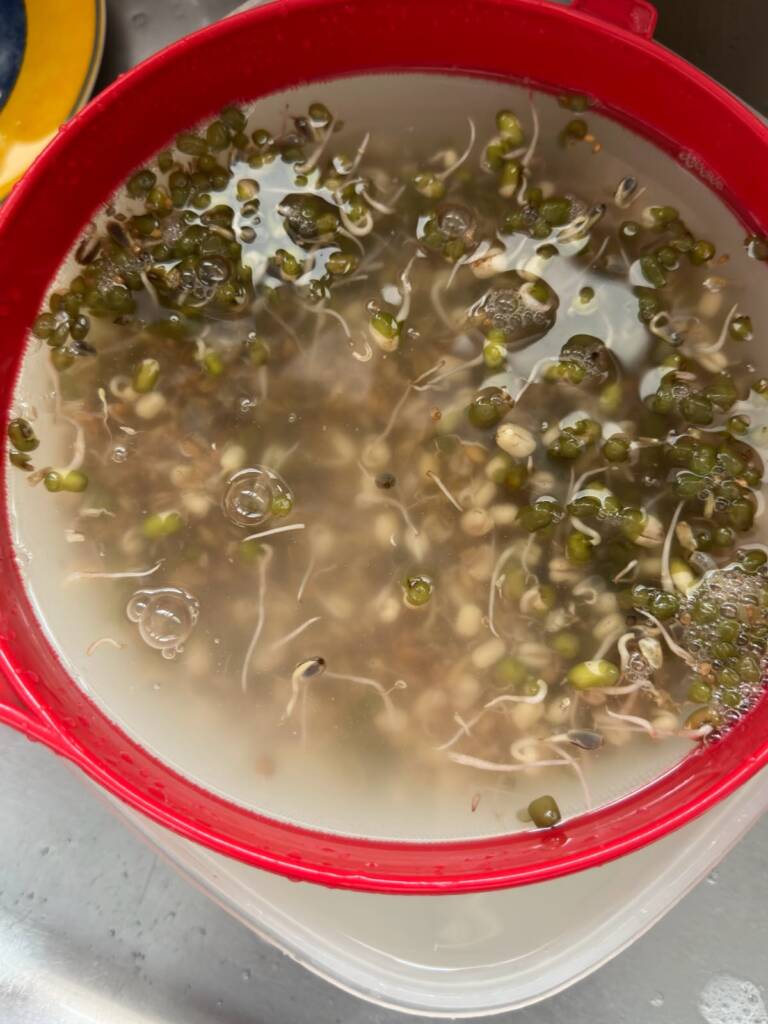
For coarse seeds, let them soak for 8-10 hours and change the water in between if possible. For example, if you are sprouting nigella seeds, soak for 5-6 hours. In other words, the coarser the seeds, the longer the soaking time is.
If they soak for longer periods than the above, they may “suffocate” the seeds and take longer to germinate.
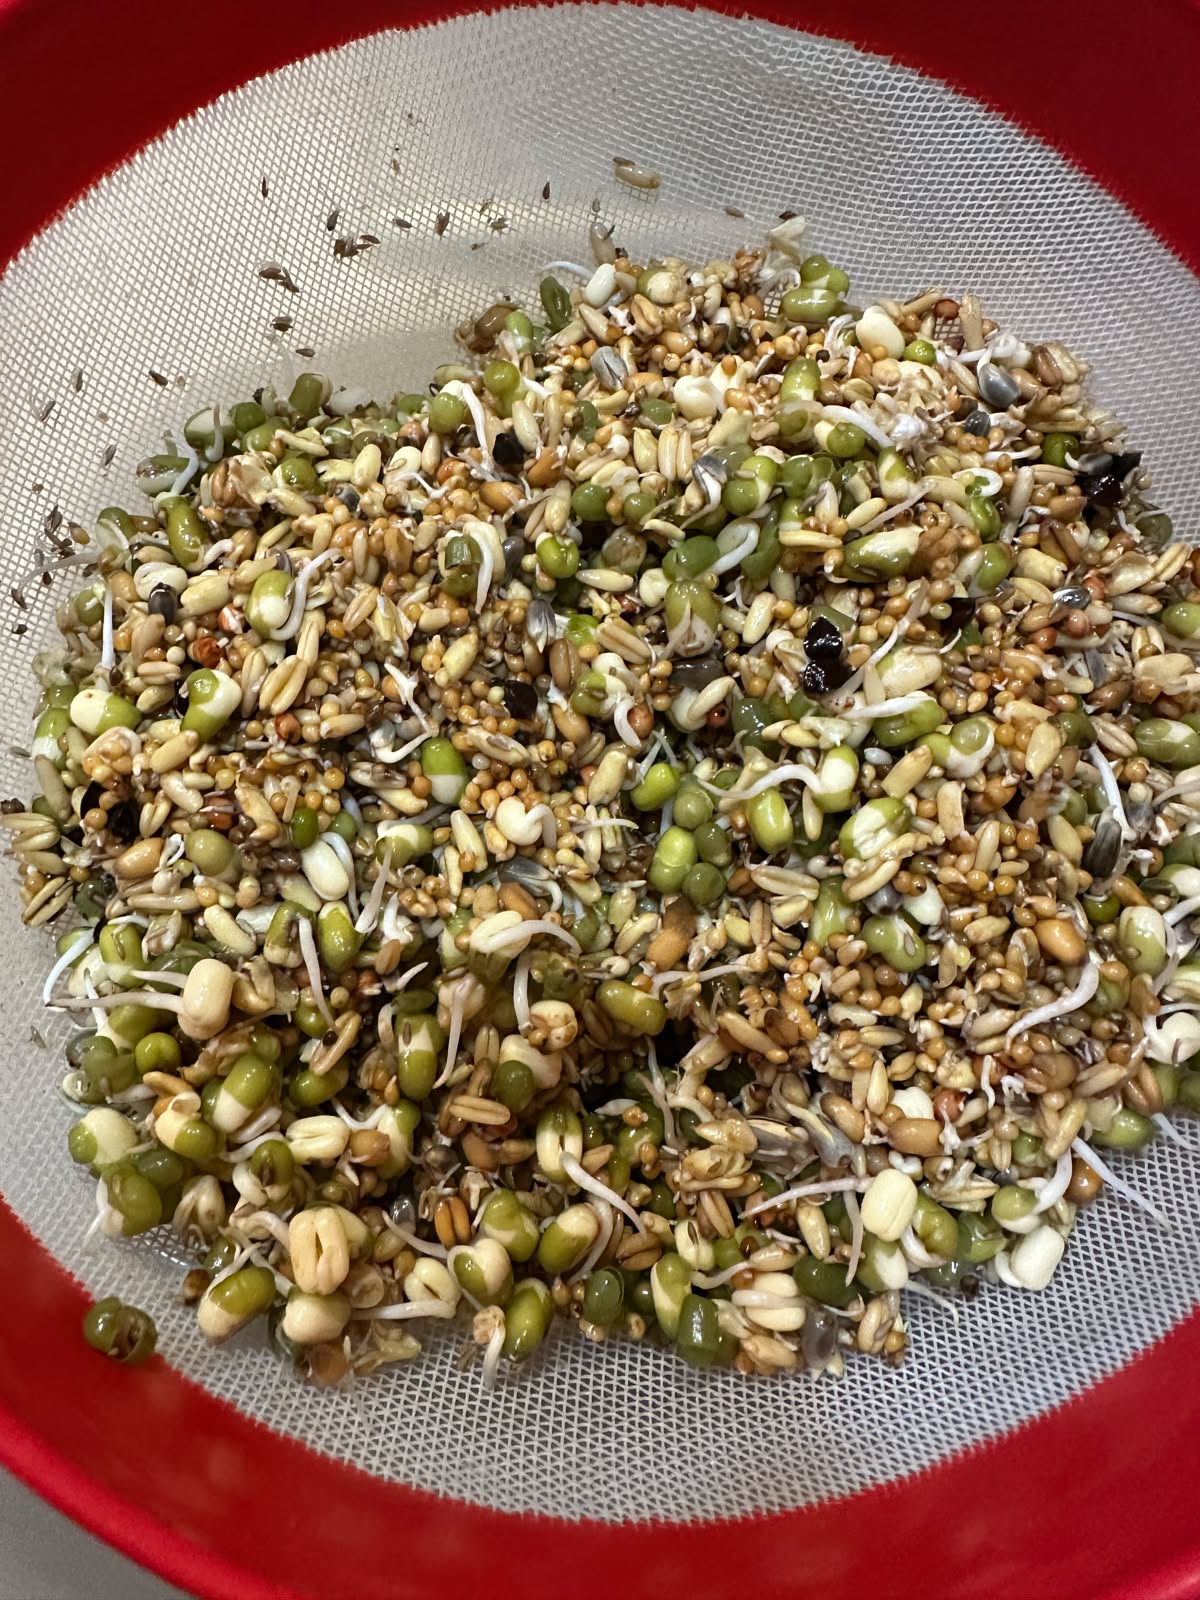
Then, drain the water and leave them in the colander to slowly start to sprout. Cover them with a towel so that the moisture does not evaporate and rinse them well with clean water 2-3 times a day.
Especially in the winter months, try to keep them in a sunny and warm place so that they sprout easier. If the germination process is delayed too long, they will spoil and will be unsuitable for use. Basically, when the germination process is finished, they should smell fresh and not have a strange odour.
The same happens in the warm months, that is, due to the heat, some seeds such as niger are delayed in germinating or almost not at all.
TIP 1: When you place the strainer back in the plastic container and fill it with water with apple cider vinegar or other kind of antiseptic, you can place it in clean water for 10-20 minutes before doing this, so that the seeds, because they are dry during germination, will absorb as much clear water as they need to re-soak. This step prevents the seeds from freely absorbing as much water as they need with the chemical antiseptic and ending up in the seed core. After you have emptied the water, then proceed to put water with vinegar or chemical preparation again.
Then, let them dry to the point you desire depending on the humidity you want your egg food to have.
The amount of time they need to germinate is from 1 to 3 days depending on the conditions and do not wait for all the seeds to germinate to use them because then some will have sprouted too much. They are ready for use when the root has just emerged in the majority of the seeds. If you let the root grow longer, then all the nutrition of the germinated seed will leave the seed and go to nourish the shoot.
When you think they are ready to use, rinse them well and place them back in the strainer in the container and fill with water as before, but now add a little vinegar or some product that will help kill any fungi or bacteria that have developed. Let them soak for about 30 minutes and rinse again with plenty of water.
TIP 2: Gather the seeds on the edges of the strainer with a spoon and by touching the bottom of it with your fingers, the water leaves the seeds much more easily.
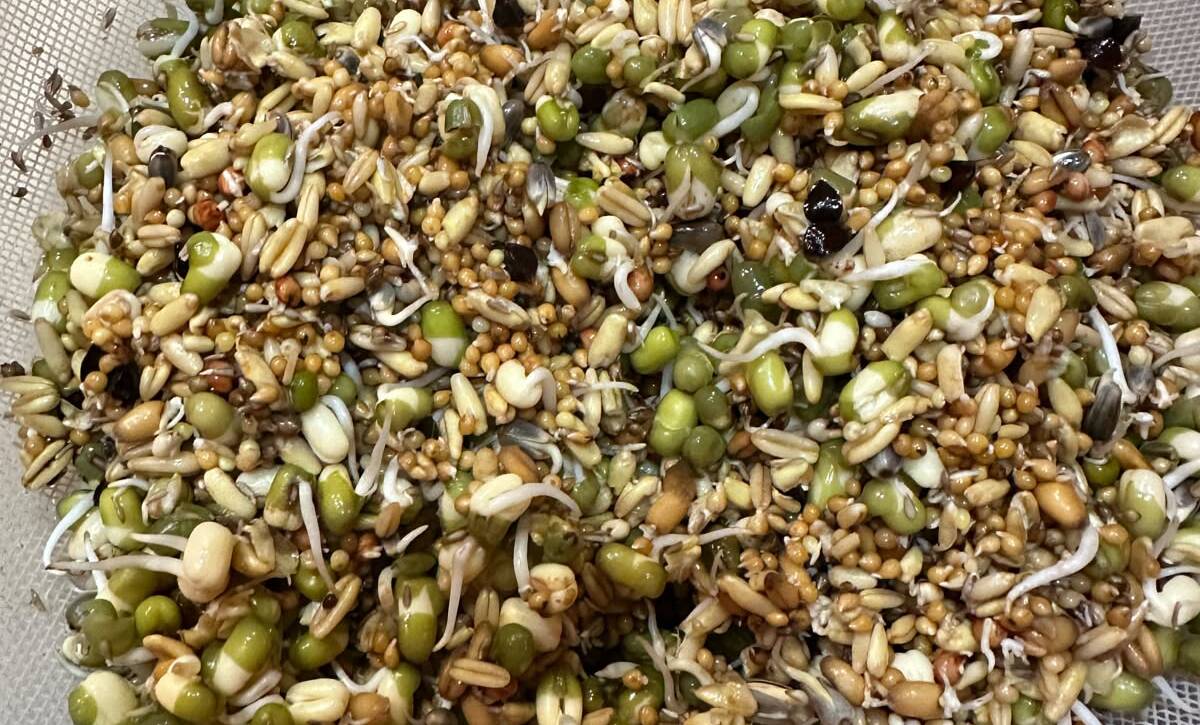
Some breeders add the disinfectant to the water completely at the beginning of the process when we put the seeds to soak. Personally, I don’t like the seeds to absorb a large amount of either vinegar or chemical product, but on the contrary, I recommend using it at the end of the process when fungi may have developed to neutralize them.
Then, let them dry to the point you desire, depending on the humidity you want your egg food to have.